- High-concerned chemical: None
- Model Number: zapi
- Condition: New
- Power Souce: DC Motor
- Type: Powered Pallet Truck
- Origin: Mainland China
- Description: ZAPI diagnosis
- PN: zapi handheld
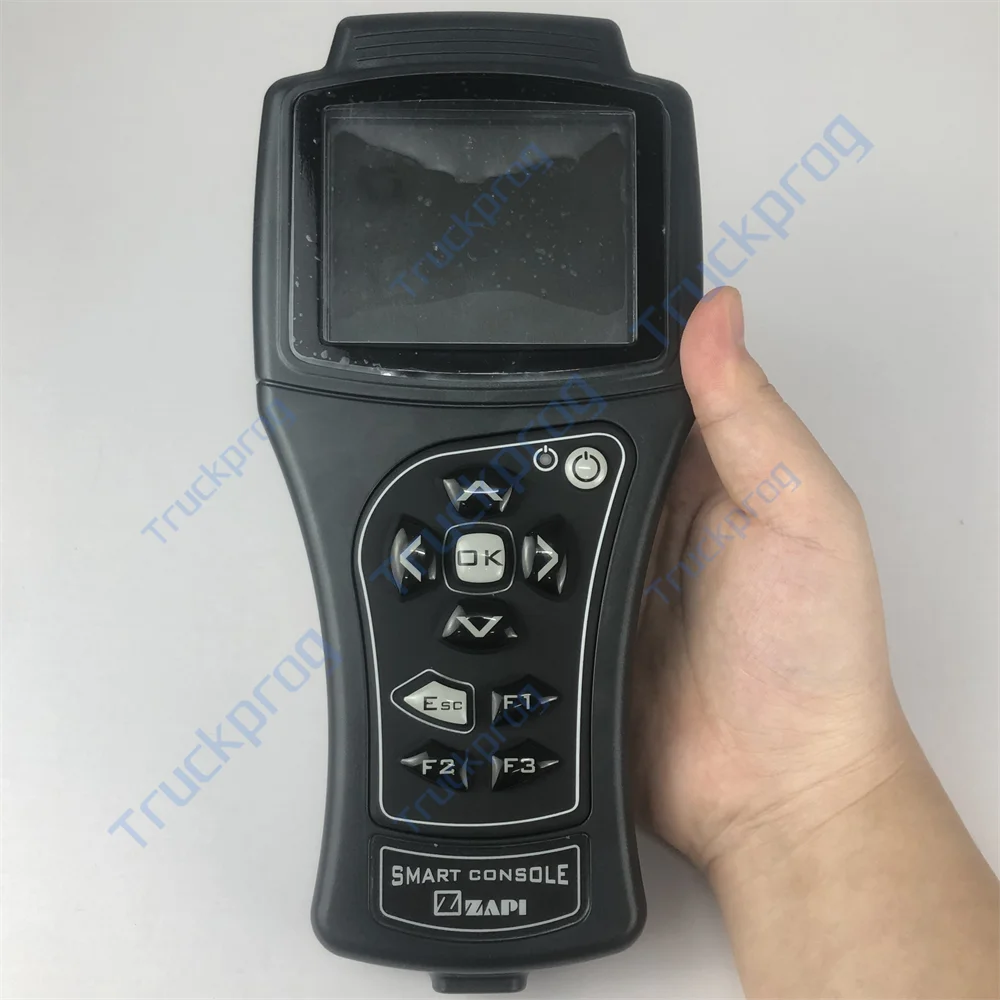
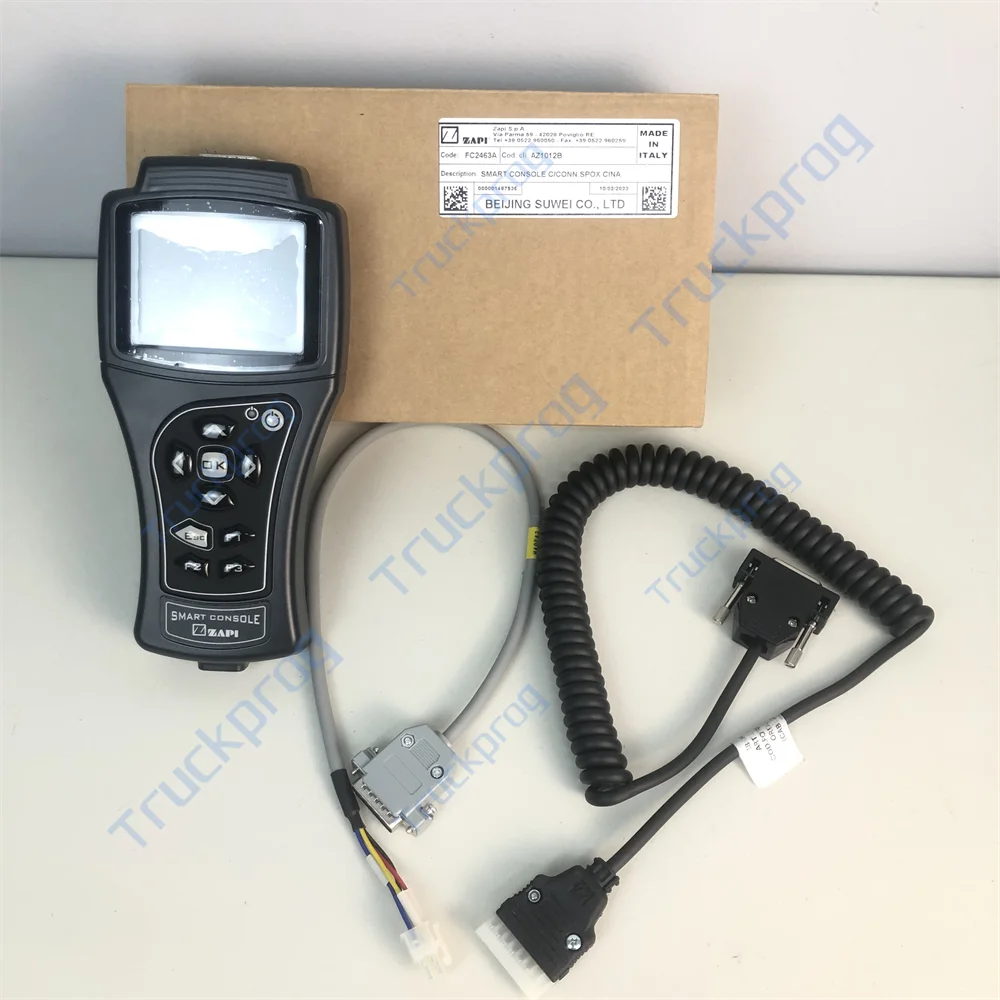
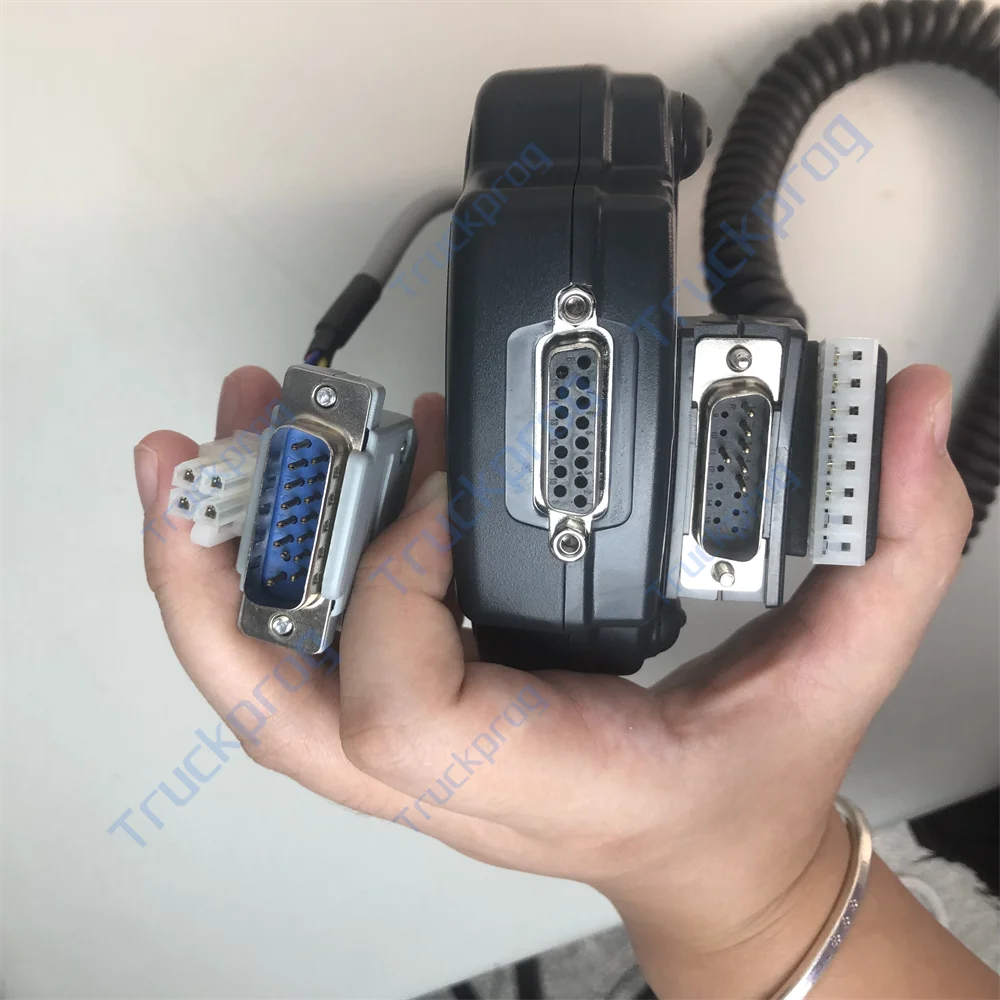
ZAPI Smart Console FC2463A FC2463 FC2360 EV & Forklift Motor Controller Programming & Diagnosing Handset Communication Tool
Product Description
With this console it is possible to interact with the controller via CAN or Serial communication in order to monitor the real-time operation and to change the software parameters in order to better fit the application. The console onboard USB port also permits import/export of controller operational data using an external flash drive. In addition to this Smart Console, other ZAPI tools are available, either serial or CAN based, permitting operation on controllers using external devices such as personal computers.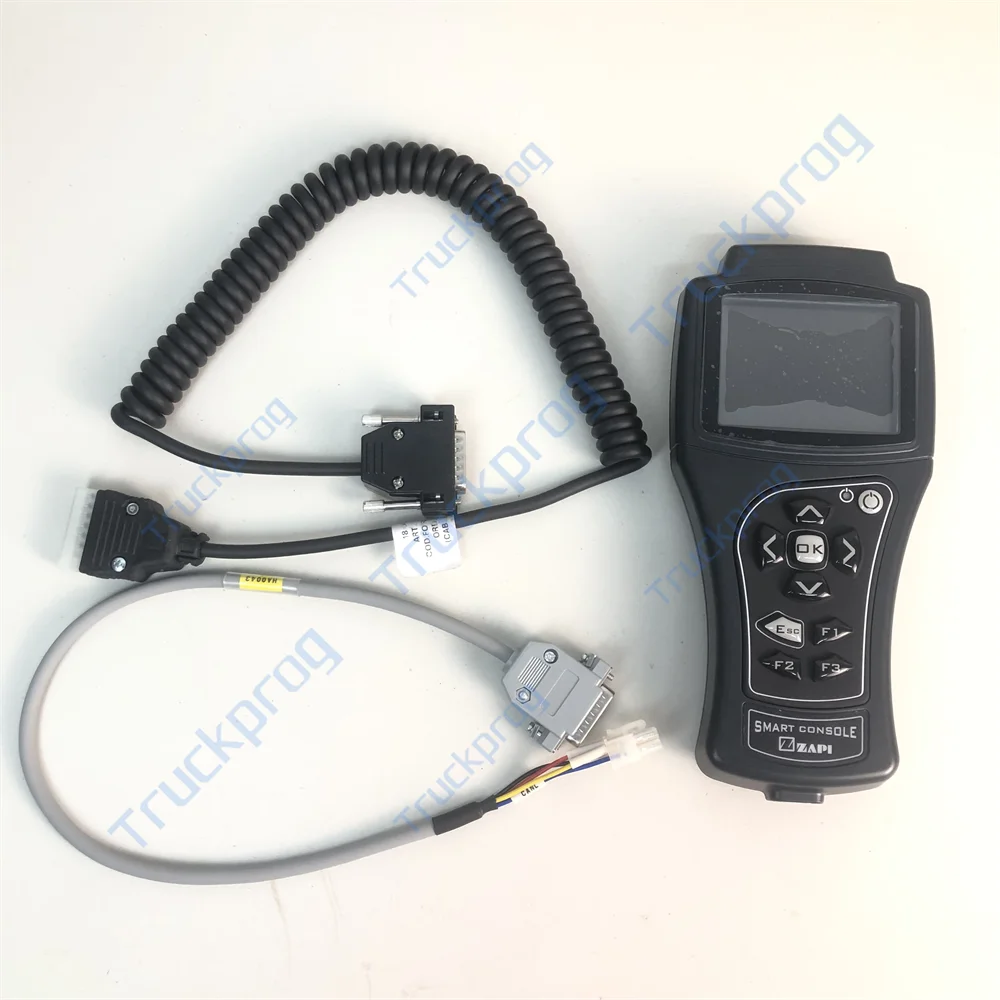
Technical Specifications
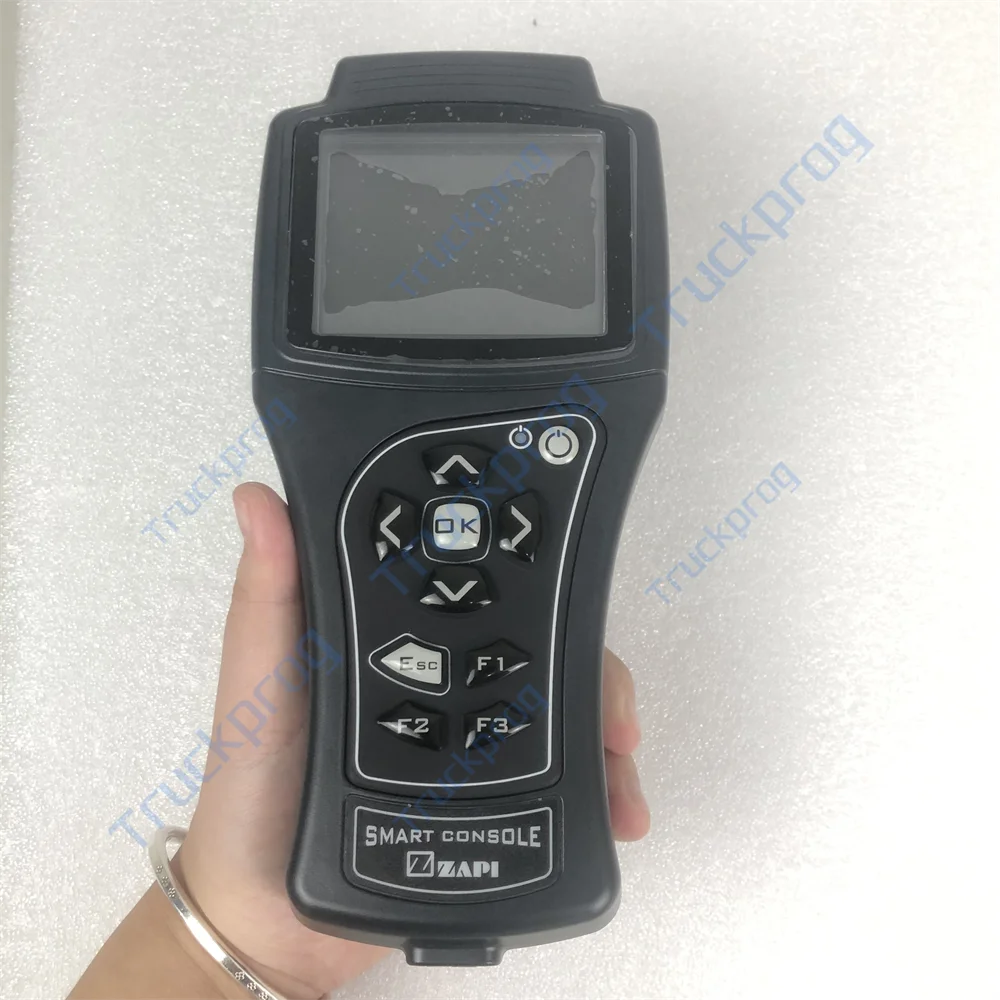
3.2’’ TFT Color Display
ARM Cortex 32bit Microcontroller
Connection via CAN or serial line (compatibility mode)
Power supply from truck battery (24V to 80V) or from onboard NiMh AA batteries
Improved Navigation and Tester Menu
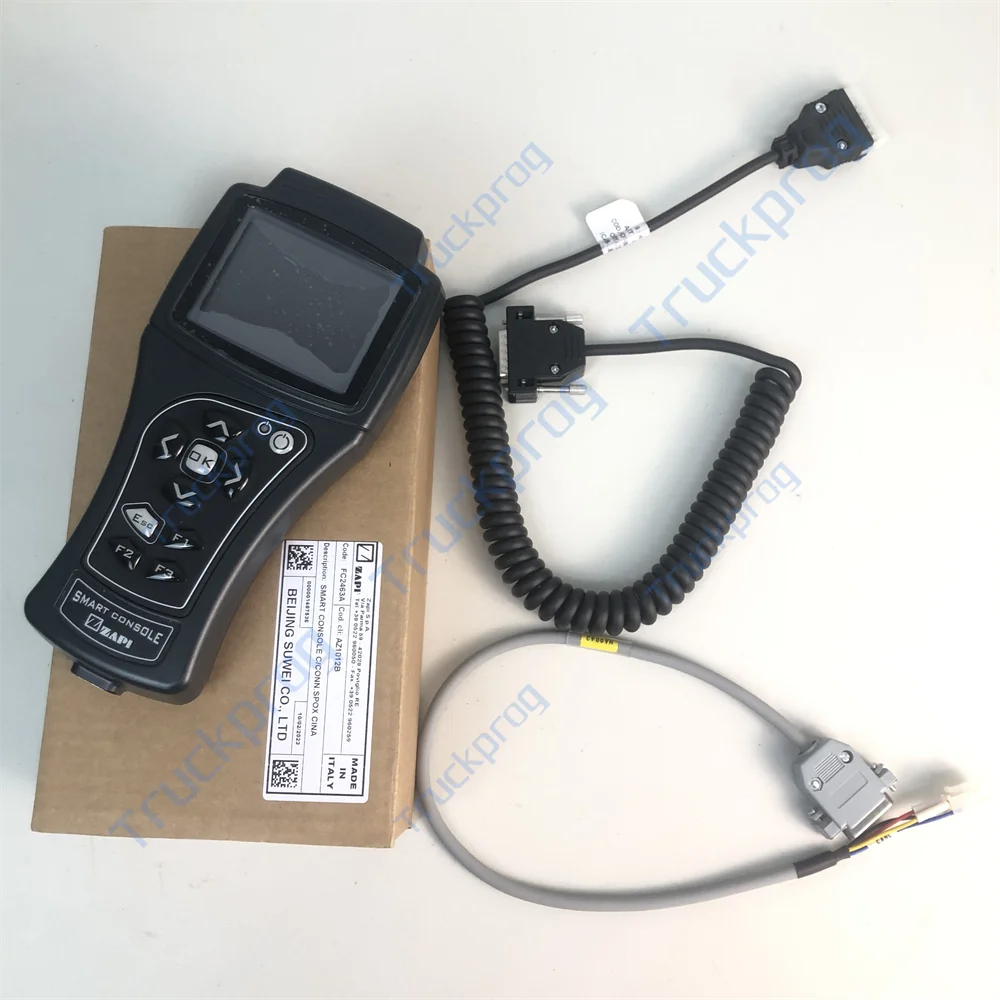
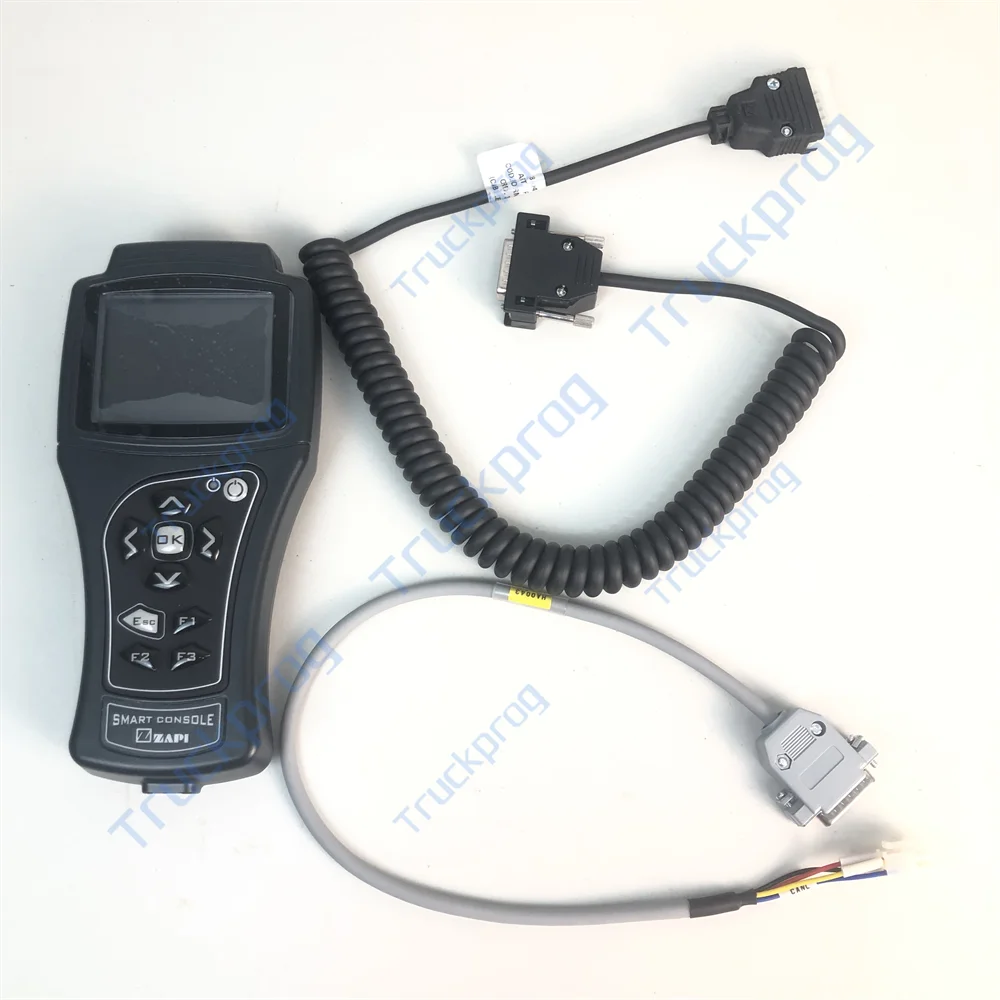
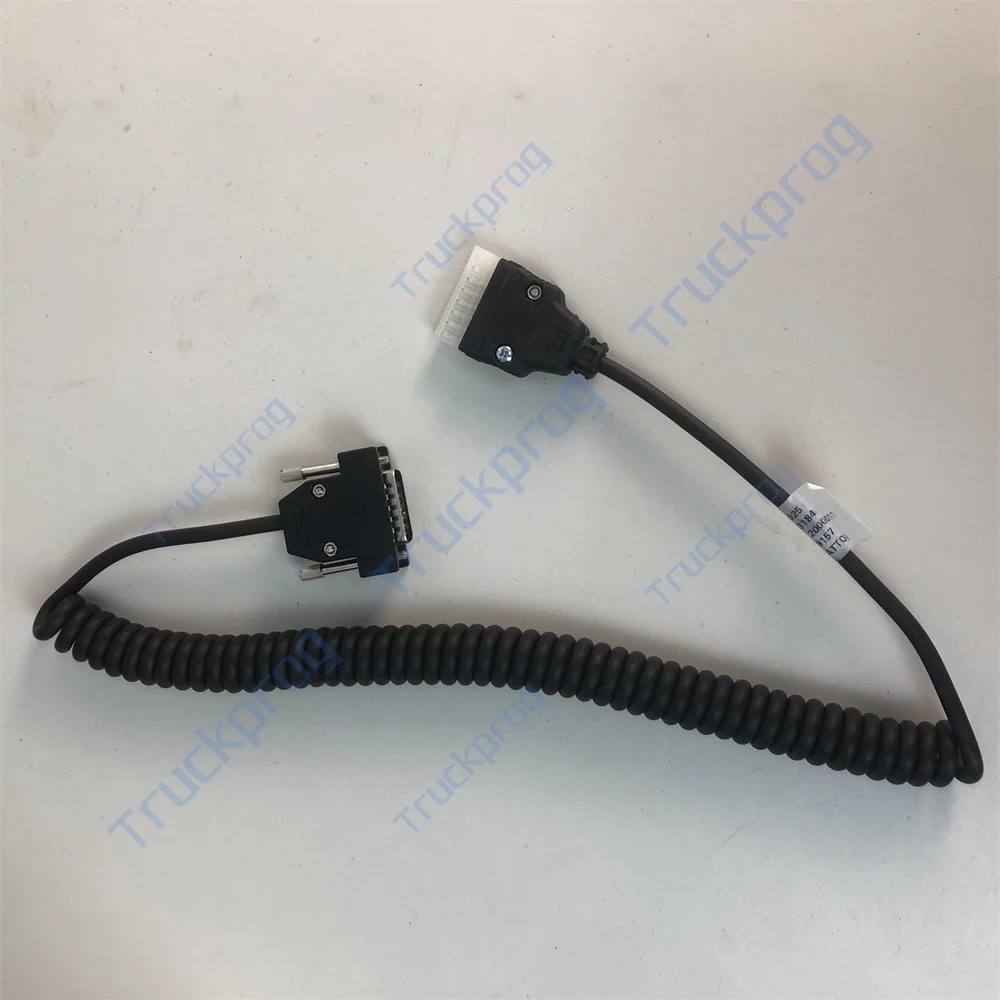
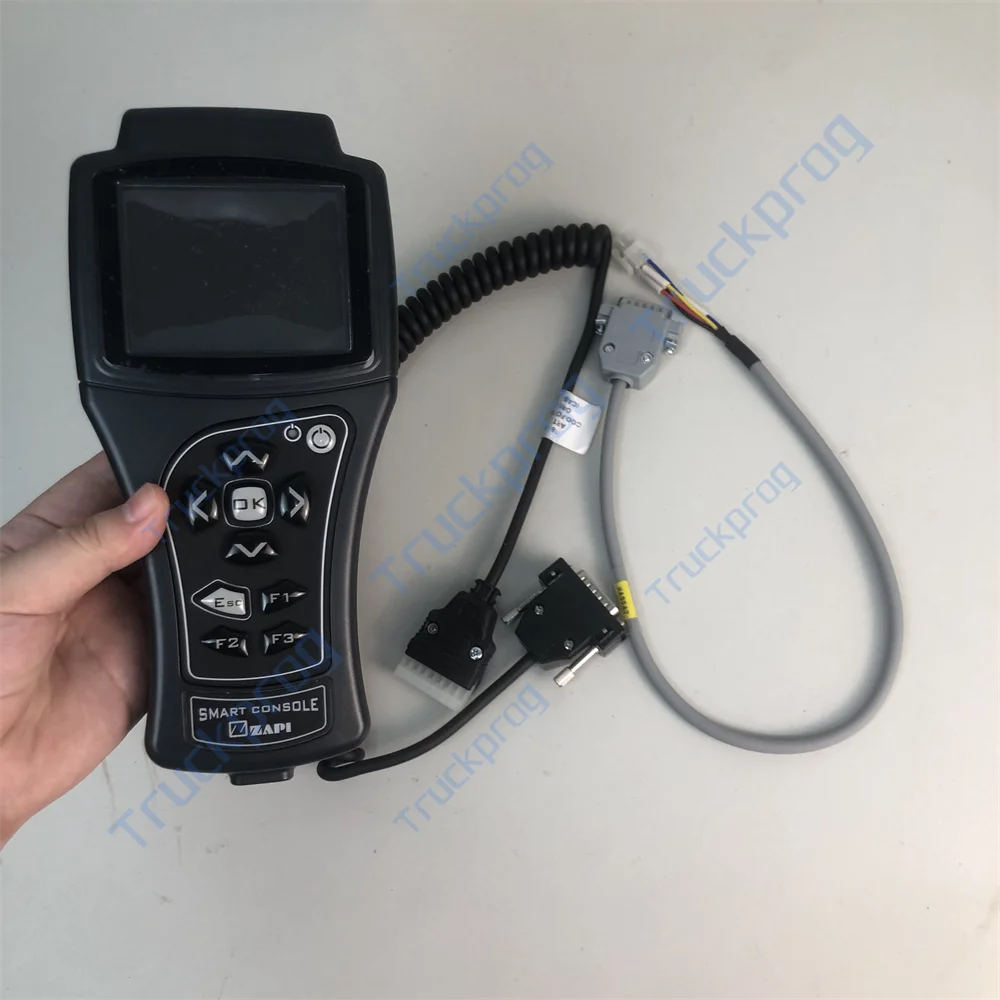
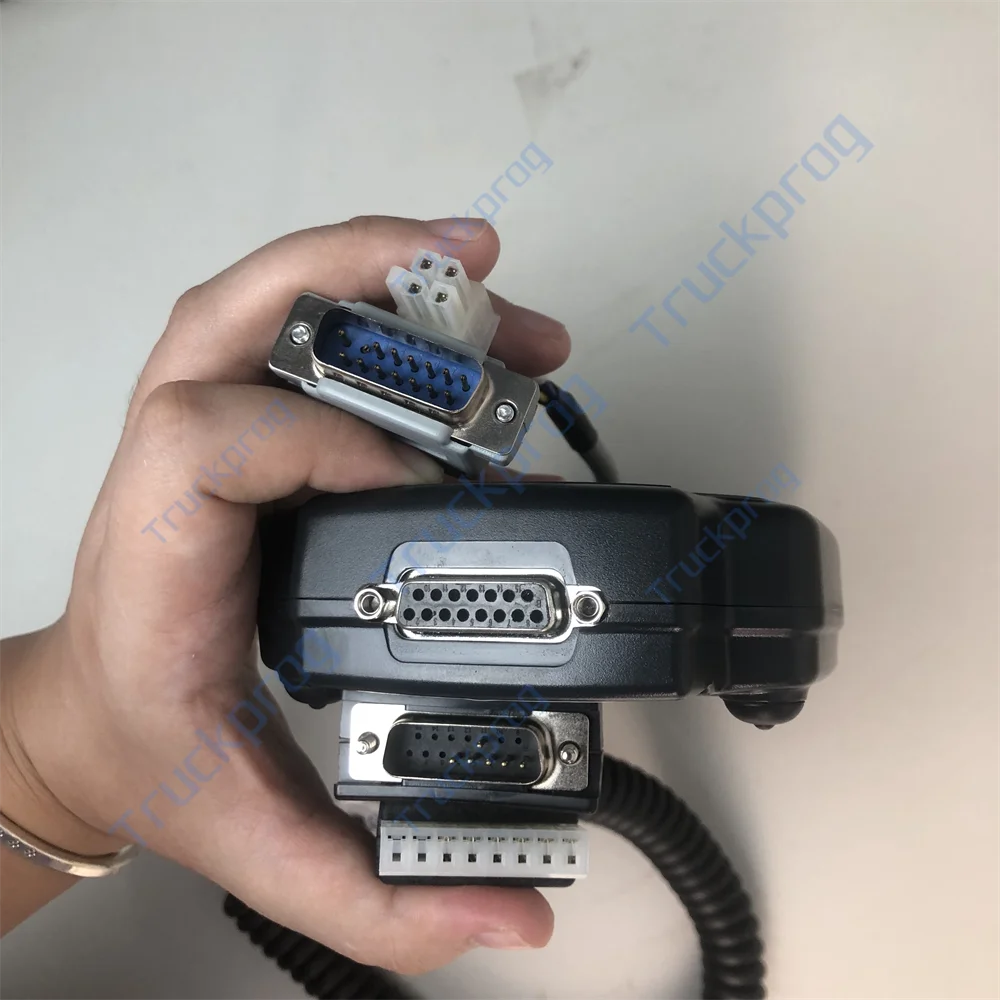
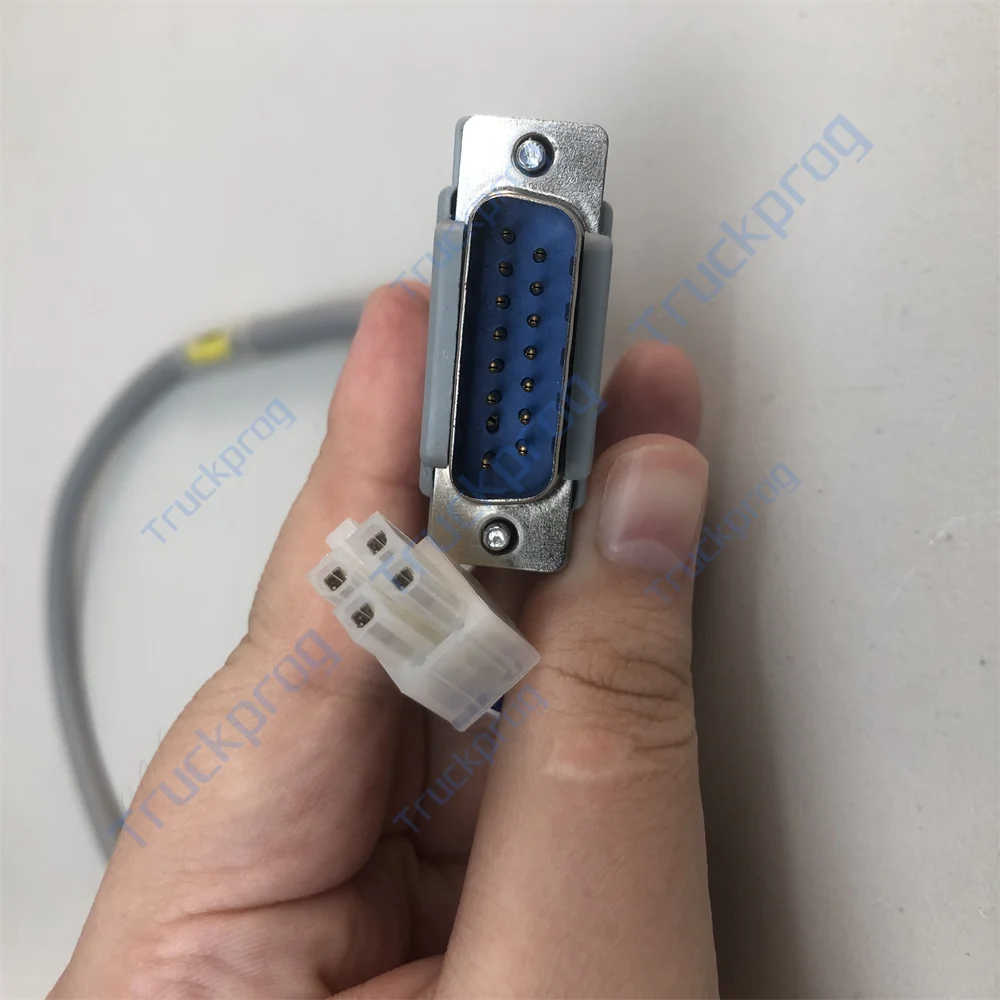
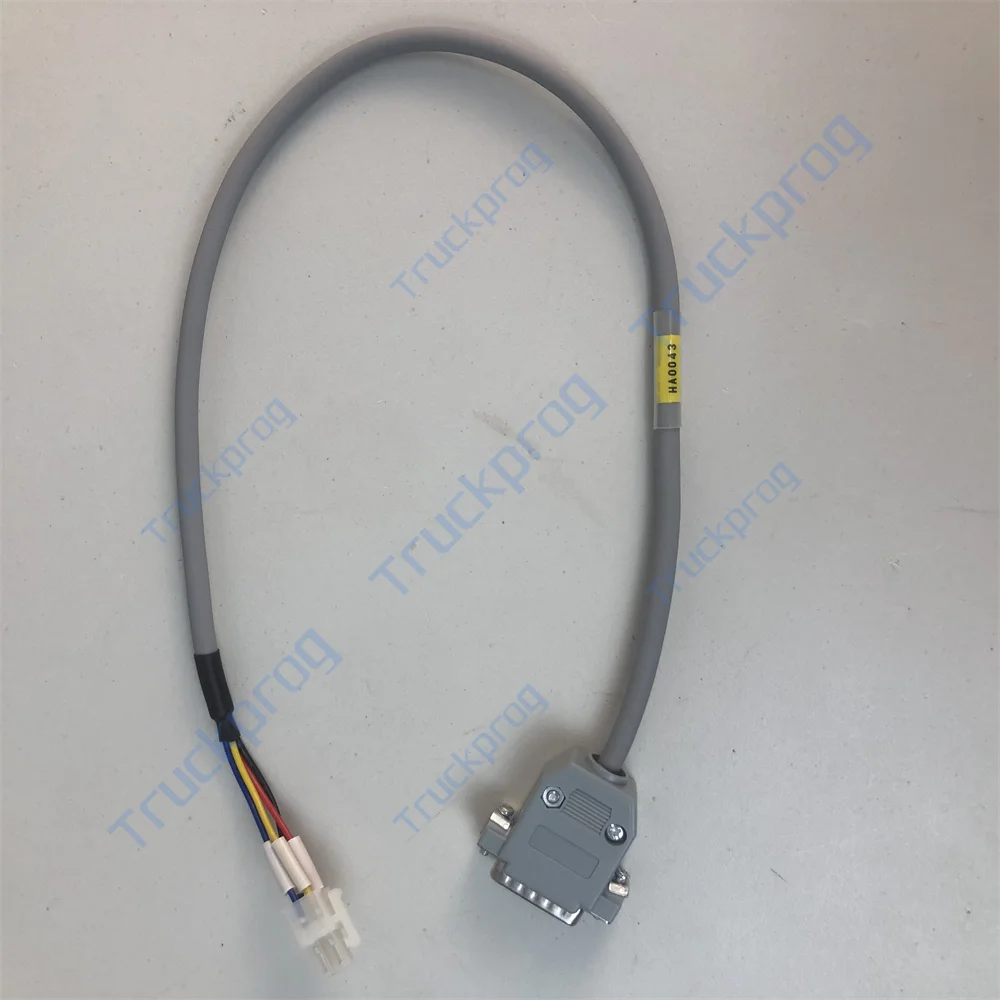
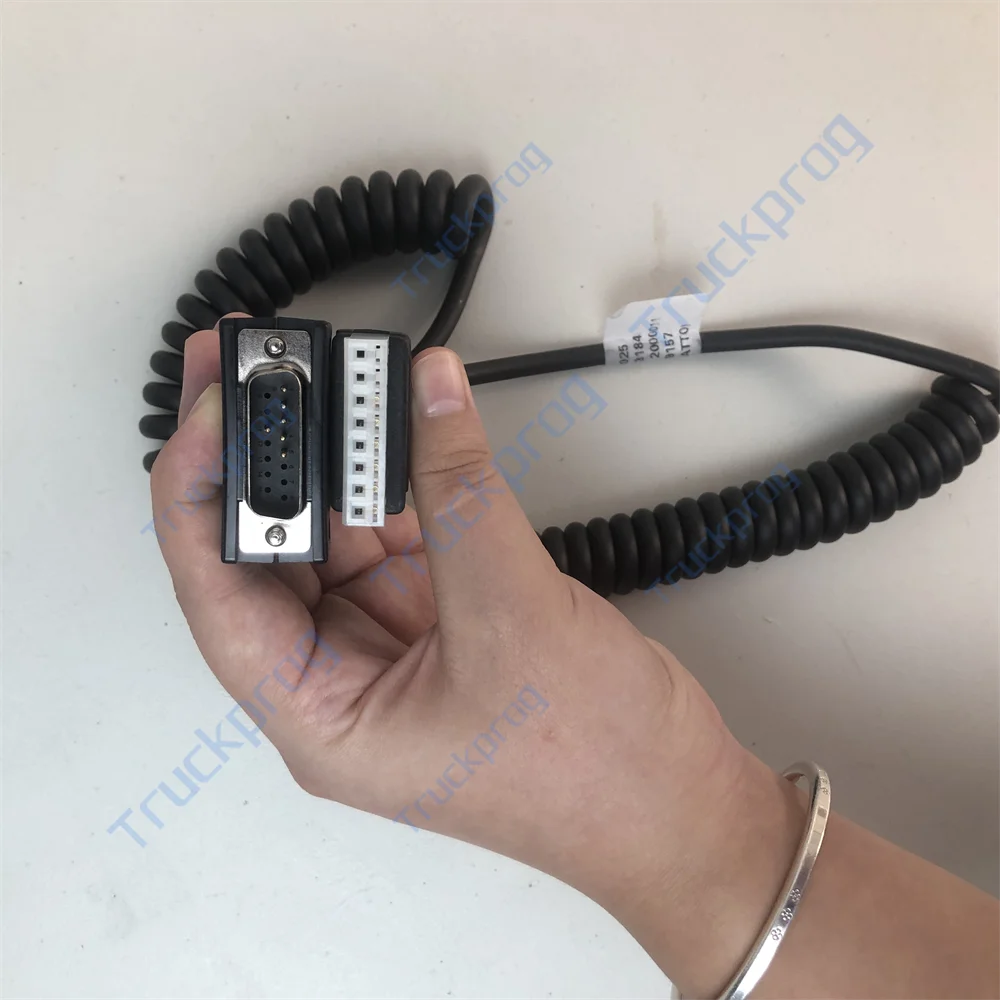
Interchangeable cable
3 user programmable buttons
USB connection to flash drives
Dimension: 100 × 190 × 60 mm
Man-Machine Interface Details
Tester: Real-time display of analogue and digital measurements in the controllers (battery voltage, motor voltage, motor current, temperature, potentiometer voltage, etc.)
Programming Parameters: Multilevel password-protected access to controller parameters
Save & Restore: Save a set of parameters in external memory to program multiple controllers automatically with the same set
Alarms Display: Last 5 faults/warnings
Advanced Functions:
CAN messages real-time data logging on USB for system analysis
Real-time data logging of I/O values shown in the tester menu
Software download for firmware upgrade
How to Connect a Smart Console to a Controller / Chopper (example: AC-2 inverter)
Preparing the console: Insert 4 NiMh AA batteries into the battery chamber; choose the serial communication cable; connect the cable's DB15 connector to the Smart Console.
Connecting the console to the controller: Remove the rubber protection cover of the controller's 8-Pin connector and connect the serial communication cable.
Preparing the DC source: Use a voltage not higher than the controller’s rated voltage; connect battery positive and negative to the controller’s B+ and B- terminals.
Power on the Smart Console: The initial interface (Home Screen) will appear.
Activating the controller: Connect the DC source positive to Pin number 1 of the controller’s 12-Pin MOLEX connector.
Starting communication: On the console menu, select “RS232 Console” and press “OK.” The Smart Console will start to communicate with the controller. Once communication is successful, the controller's model information appears.
Using the main menu: Press “OK” to enter the controller’s main menu. From here, you can modify parameters, diagnose status, check errors, and save or restore settings.


Avaliações
Ainda não existem avaliações.